Deep Live cam Notes
Project address: https://github.com/hacksider/Deep-Live-Cam
This note will not cover cuda, Python, Conda, Git, and other related computer knowledge. There are only records of steps and problems encountered when using the deployment.
The following operations are all performed under the Windows operating system. My system version number is:
Microsoft Windows 11 Pro
10.0.22631 Build 22631
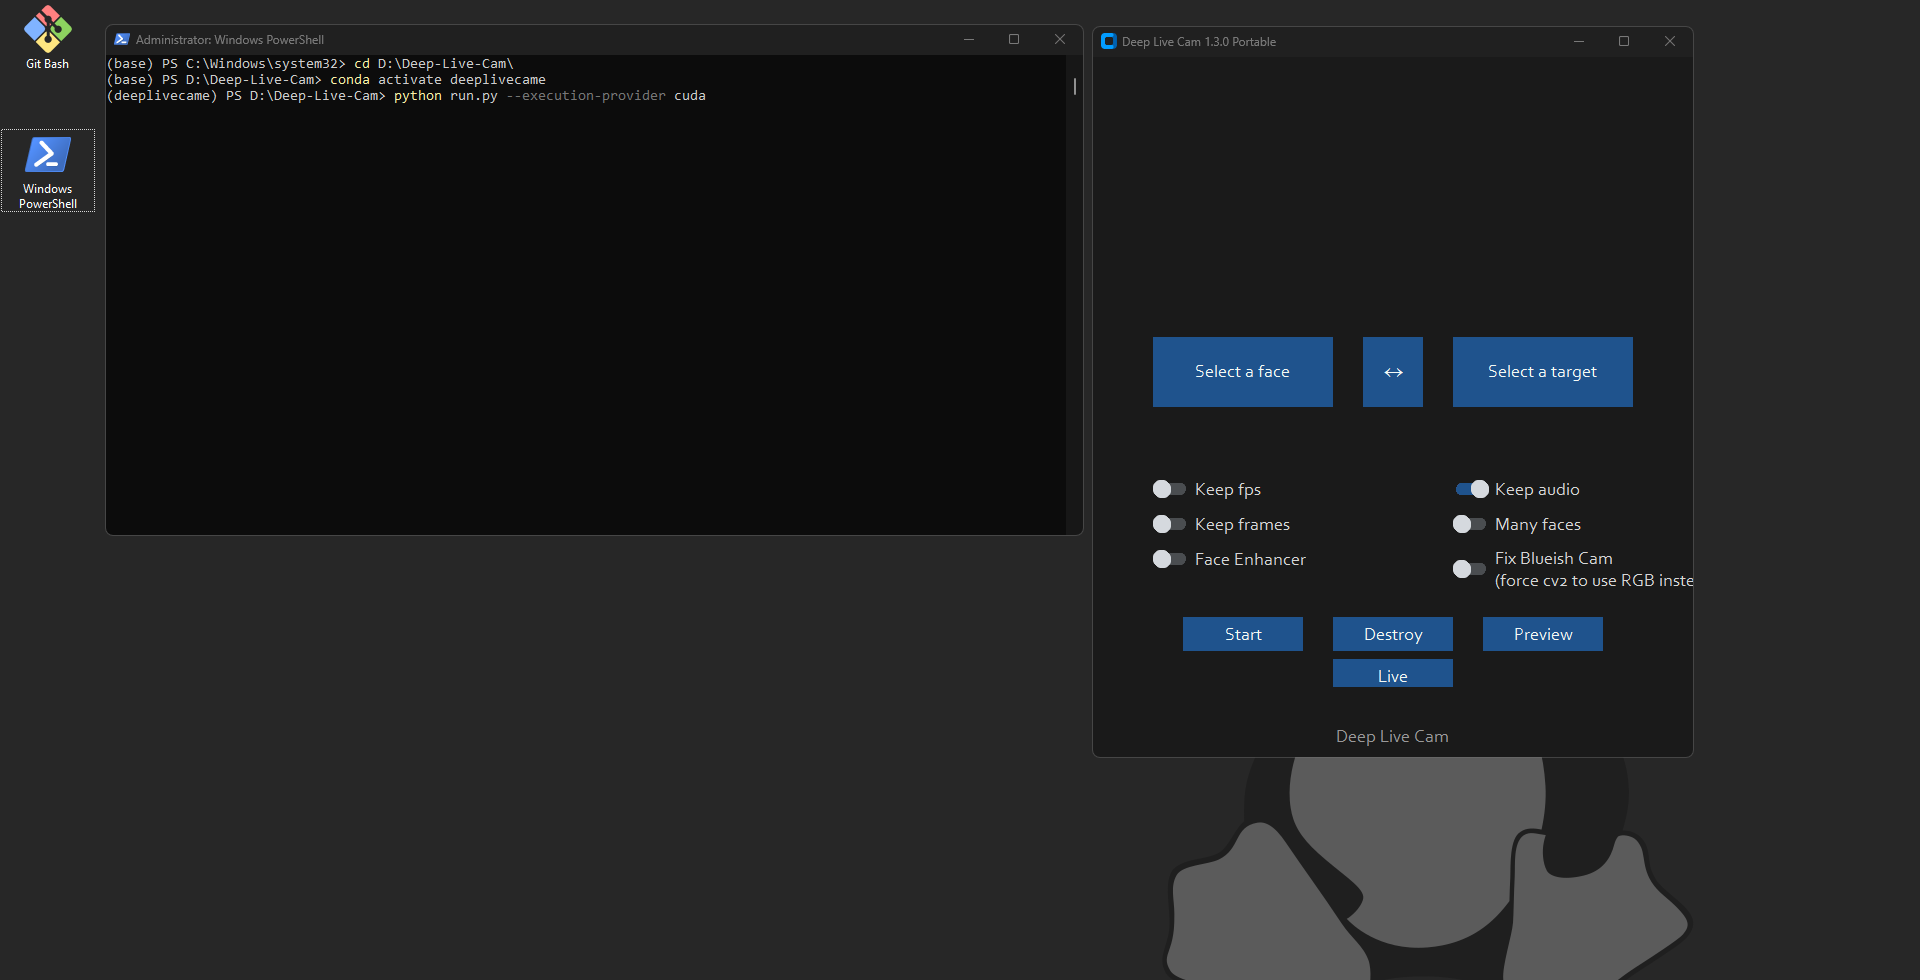
Prerequisites
Desktop or laptop computer with Nvidia graphics card
Stable network environment
Software or compilation tools required by DeepLiveCam
- Python 3.10.0
- CUDA
- cuDNN
- Git
- ffmpeg
- Conda-Py 3.10
- Microsoft C++ Build Tools
DeepLiveCam project ontology
Model download
Environment installation
Python 3.10.0
Download address: https://www.python.org/ftp/python/3.10.0/python-3.10.0-amd64.exe
Just install it like a normal application software, remember to check Add to System Variables
CUDA
Download address: https://developer.nvidia.com/cuda-toolkit-archive
After the installation is complete, run nvidia-smi on the command line to check the maximum CUDA version supported by the graphics card.
nvidia-smi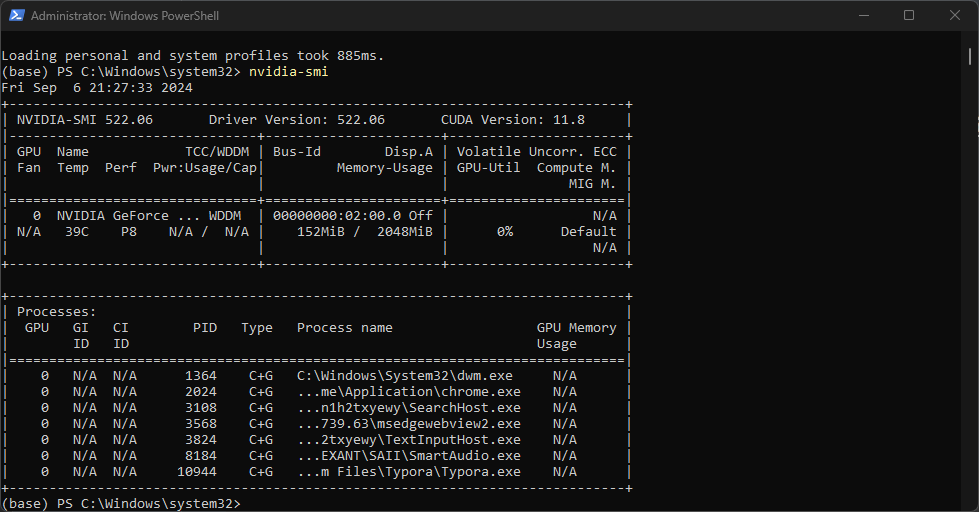
cuDNN
You need to download a version supported by CUDA
Download address: http://developer.nvidia.com/rdp/cudnn-archive
After the installation is complete, run nvcc -V cuDNN version number on the command line.
If the prompt command does not exist, please check the system’s environment variables and user variables
nvcc -V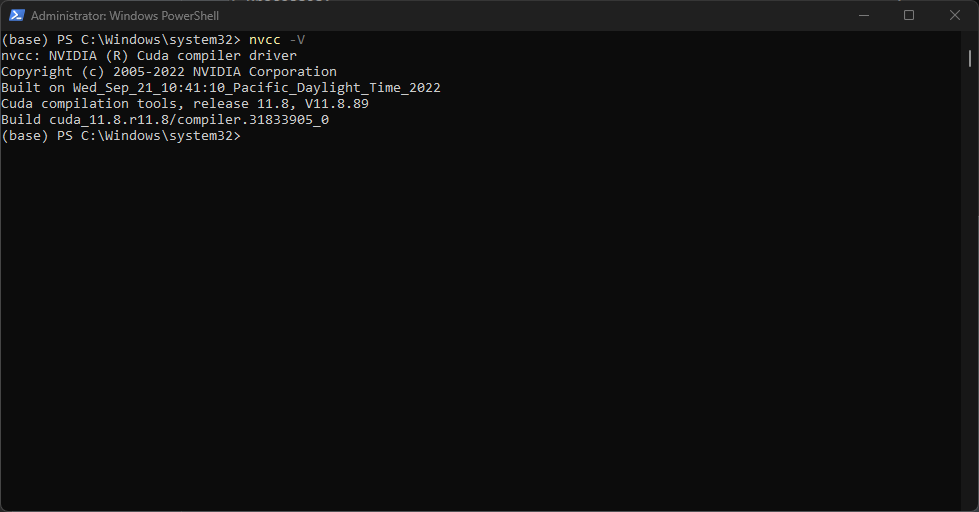
Git
Download address: https://git-scm.com/downloads
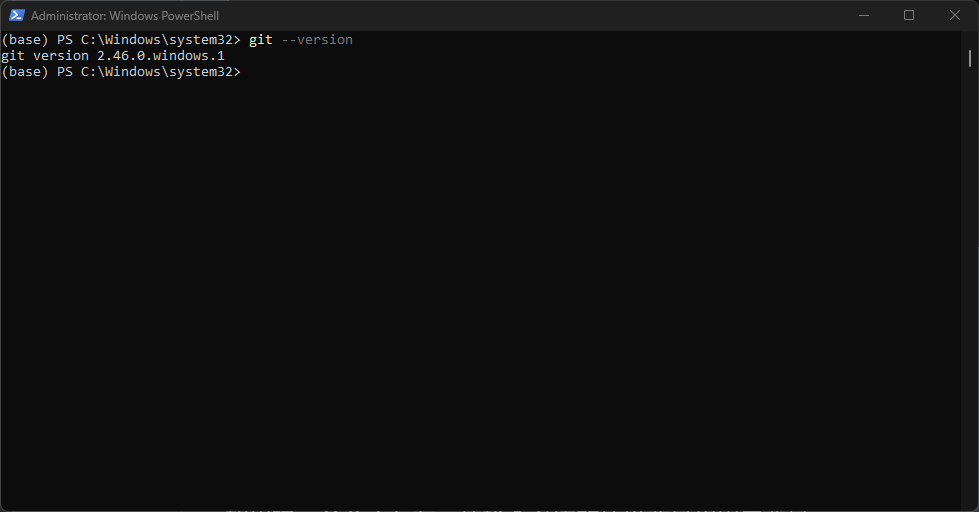
After the installation is complete, run git --version on the command line to check the Git version number.
git --versionIf the prompt command does not exist, please check the system’s environment variables and user variables
Conda
Download address: https://docs.anaconda.com/miniconda/
Select Miniconda3-py310_24.7.1-0-Windows-x86_64.exe
After the installation is complete, run conda --version on the command line to check the conda version number.
conda --version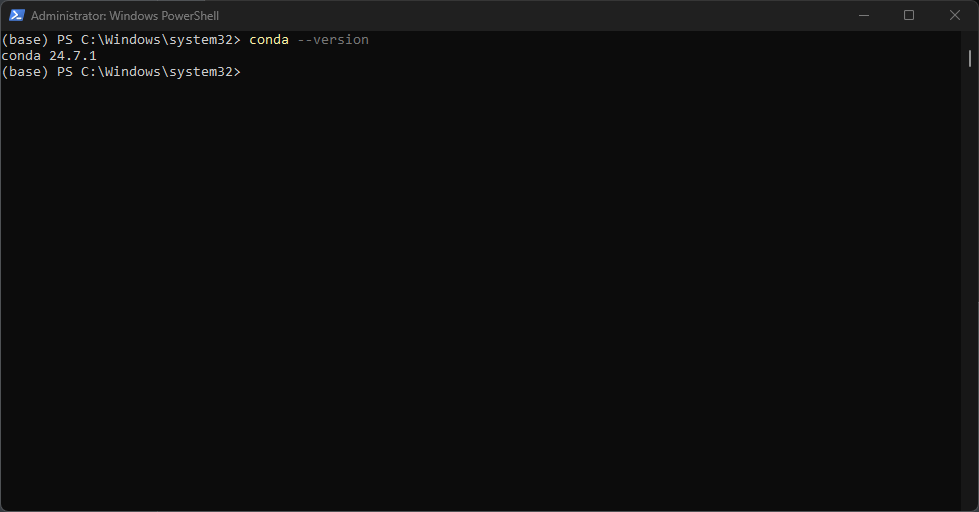
Note: If the prompt command does not exist, please check the environment variables and user variables
The path is as follows: C:\ProgramData\miniconda3\Scripts
ffmpeg
Download address: https://www.ffmpeg.org/download.html
After the installation is complete, run ffmpeg --version on the command line to check the conda version number.
ffmpeg -version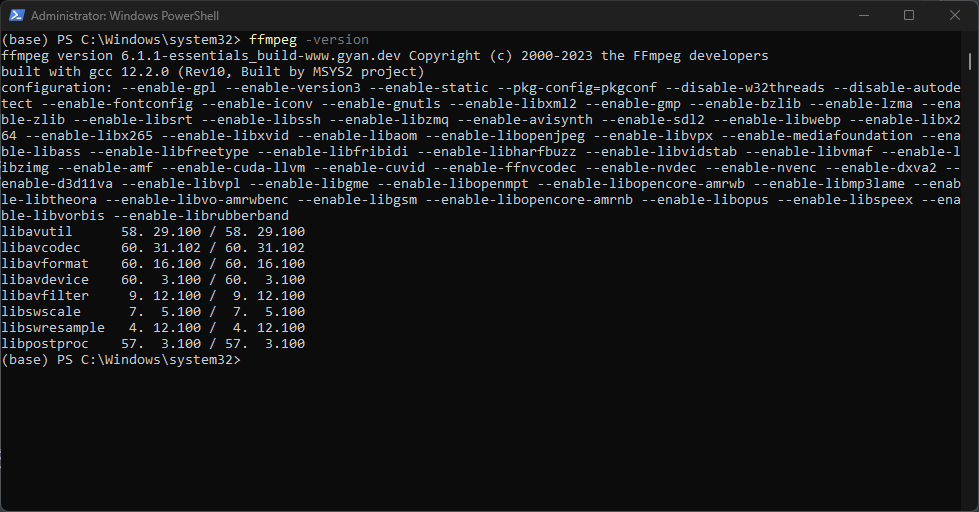
Note: If the prompt command does not exist, please check the environment variables and user variables
The path is: yourpath\ffmpeg-6.1.1-essentials_build\bin
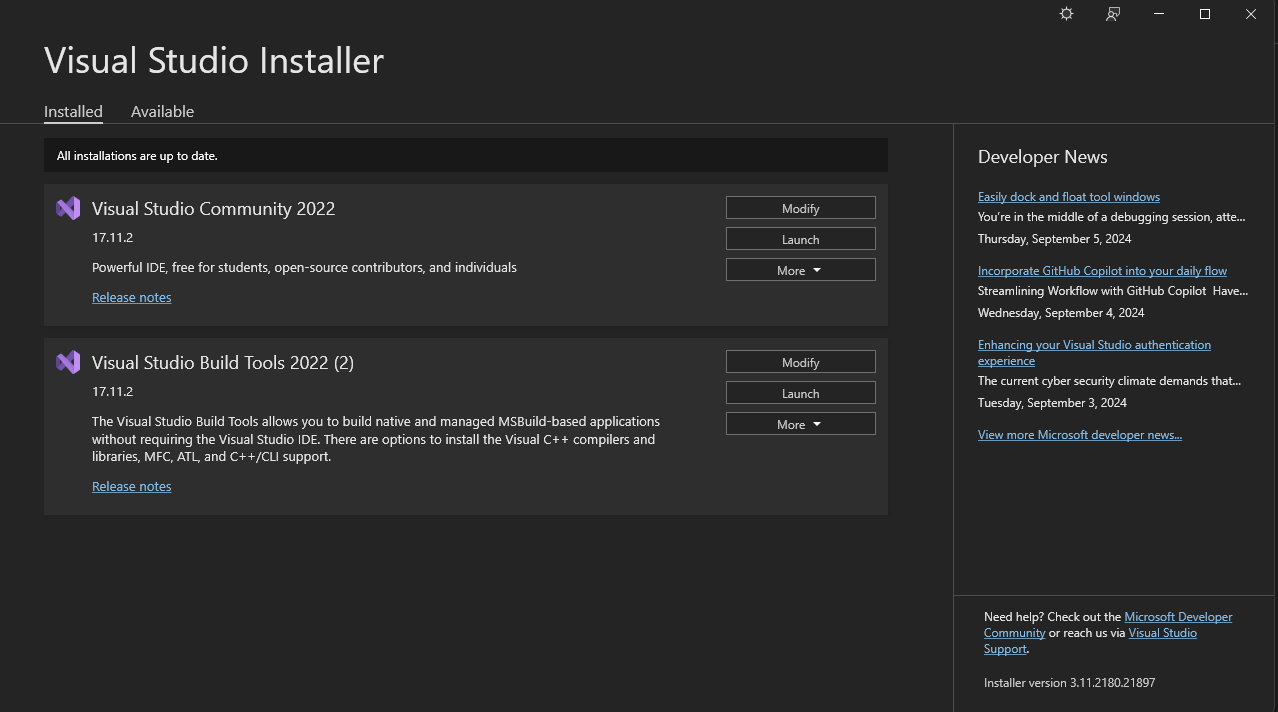
Microsoft C++ Build Tools
Download address: https://visualstudio.microsoft.com/visual-cpp-build-tools/
During the installation process, make sure “C++ build tools” and “Windows 10 SDK” (or equivalent) are selected
Modify the execution policy of Windows PowerShell
View current execution strategy
Get-ExecutionPolicy -List** Set execution policy **: 可以将执行策略设置为
Unrestricted或RemoteSigned。Unrestricted允许所有脚本运行,而RemoteSigned仅要求从互联网下载的脚本必须经过签名。设置为
Unrestricted:Set-ExecutionPolicy Unrestricted -Scope LocalMachine或者设置为
RemoteSigned:Set-ExecutionPolicy RemoteSigned -Scope LocalMachine
** Confirm change **: 在提示时输入
Y确认更改。** Verification execution policy **: 再次运行以下命令以确认执行策略已更改:
Get-ExecutionPolicy -List
Project deployment
The administrator runs PowerShell to create an English directory at the location you want to specify on the command line.
cd to the directory you created to clone the project
Note: The entire environment should not have Chinese directories or names
Clone project
git clone https://github.com/hacksider/Deep-Live-Cam.gitCD to project directory
cd /yourpath/Deep-Live-CamUse conda to create an env named DeepLiveCam
#初始化conda 环境
conda init

#创建DeepLiveCam的 env
conda create -n deeplivecam python=3.10.0

#查看env 列表
conda env list

#根据提示按Y
#等待创建完成之后激活env
conda activate deeplivecam  #激活之后,命令行前会显示(deeplivecam)
Install DeepLiveCam project
requriements.txt确认在项目目录内
yourpath/deeplivecam执行以下命令#安装环境包 (需要完全稳定的互联网) pip install -r requirements.txt #等待安装完成之后 重新安装一下以下软件包 pip uninstall onnxruntime onnxruntime-gpu #指定安装onnxruntime-gpu版本 pip install onnxruntime-gpu==1.16.3Copy model file
如果以上步骤和命令都已经完成安装且没有任何报错,将之前下载好的模型文件拷贝到项目的
models目录下, 文件树如下Directory: D:\Deep-Live-Cam\models Mode LastWriteTime Length Name ---- ------------- ------ ---- -a---- 9/2/2024 9:09 AM 348632874 GFPGANv1.4.pth -a---- 9/2/2024 10:27 PM 34 instructions.txt -a---- 9/2/2024 9:11 AM 277288649 inswapper_128_fp16.onnx
Start the DeepLiveCam project
The administrator runs Windows Power Shell and executes the following command in Windows Power Shell
#进入DeepLiveCam项目目录
cd D:\Deep-Live-Cam\  #根据自己的实际路径操作
conda activate deeplivecam # 激活deeplivecam 的env
python run.py --execution-provider cuda #运行deeplivecam 项目
Finally, select a photo in the project interface for Live verification and the effect is achieved
Note: Other functions in the function options need to download other resources when running for the first time. Please check the stability of the network.