VMware Station Migration to Proxmox PVE Notes
necessary conditions
- There is VMS in VMware Station
- The VMware Station host and Proxmox server have sufficient disk space
- Some basic Linux command knowledge
Current software version
VMware Station: VMware® Workstation 17 Pro 17.0.0 build-20800274
Proxmox : Proxmox Virtual Environment 8.3.0
Operation steps
- Export VMS from VMware Station, the file is *.ovf
- Download the *.ovf exported by VMware Station to the Proxmox node
- Execute import command
- Add a new network device and copy the MAC address
Step by Step
Export VMS from VMware Station
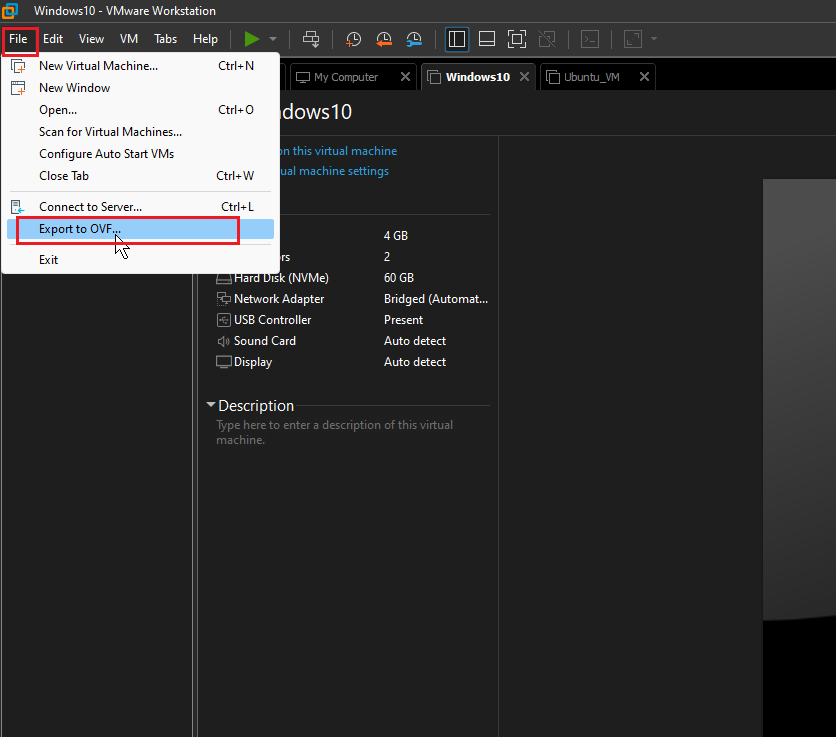
Click the export button
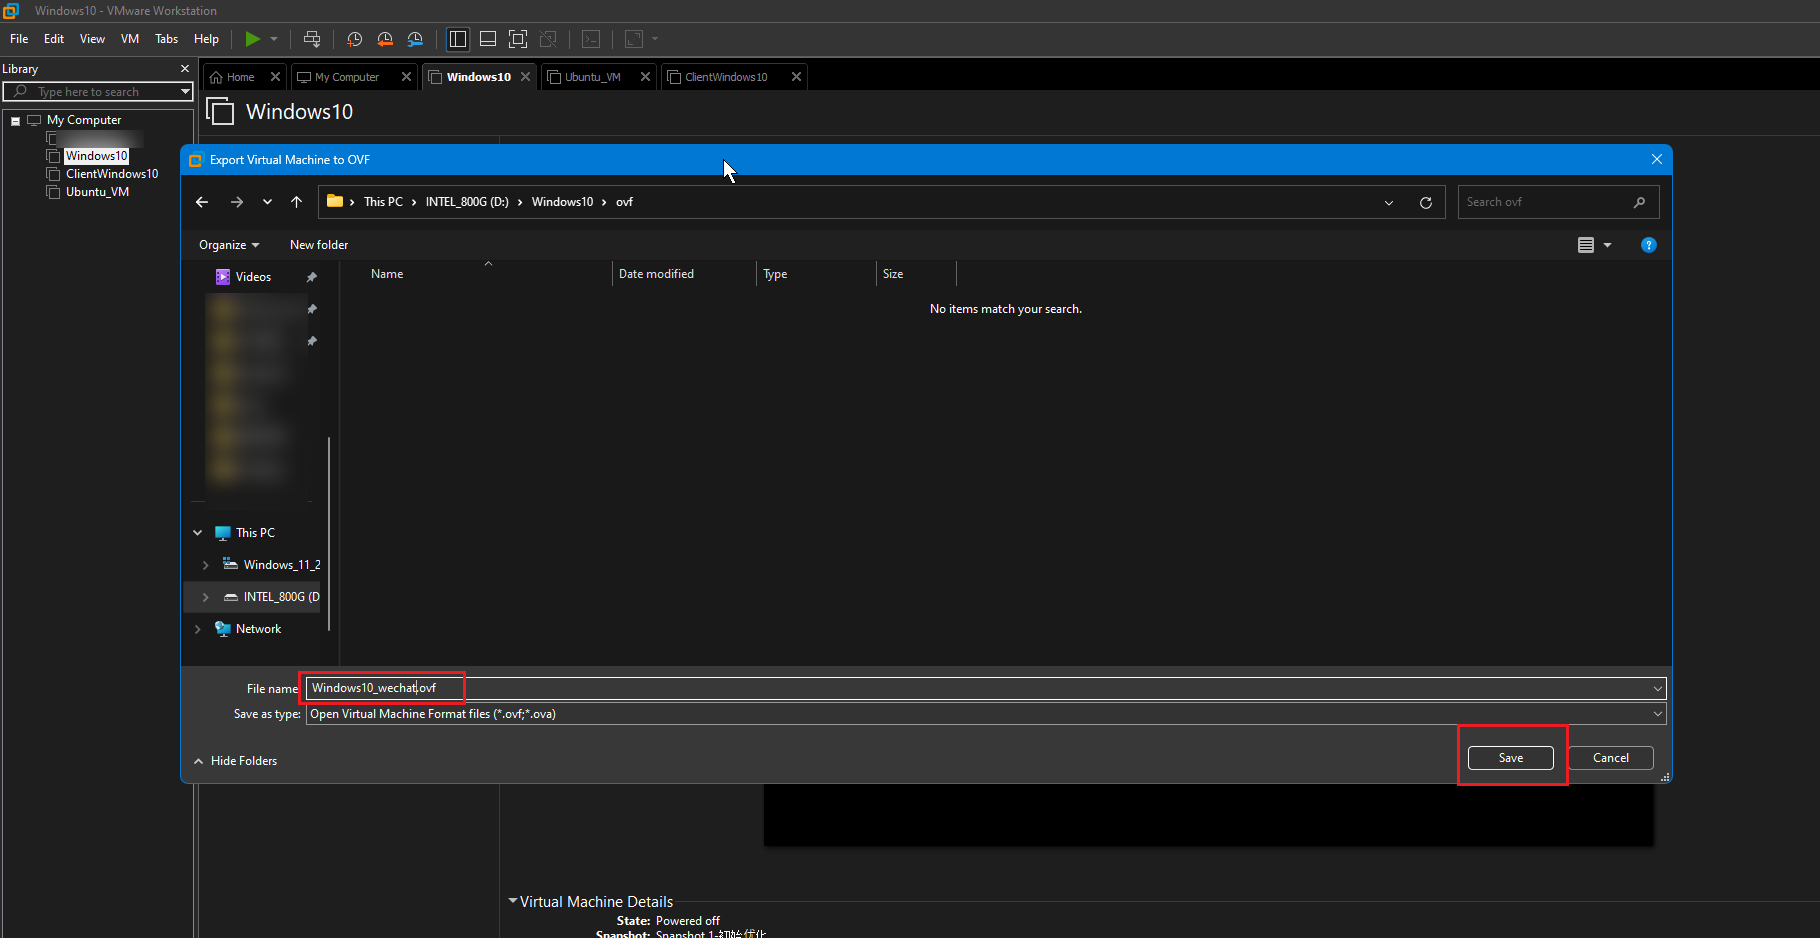
Export files to directory
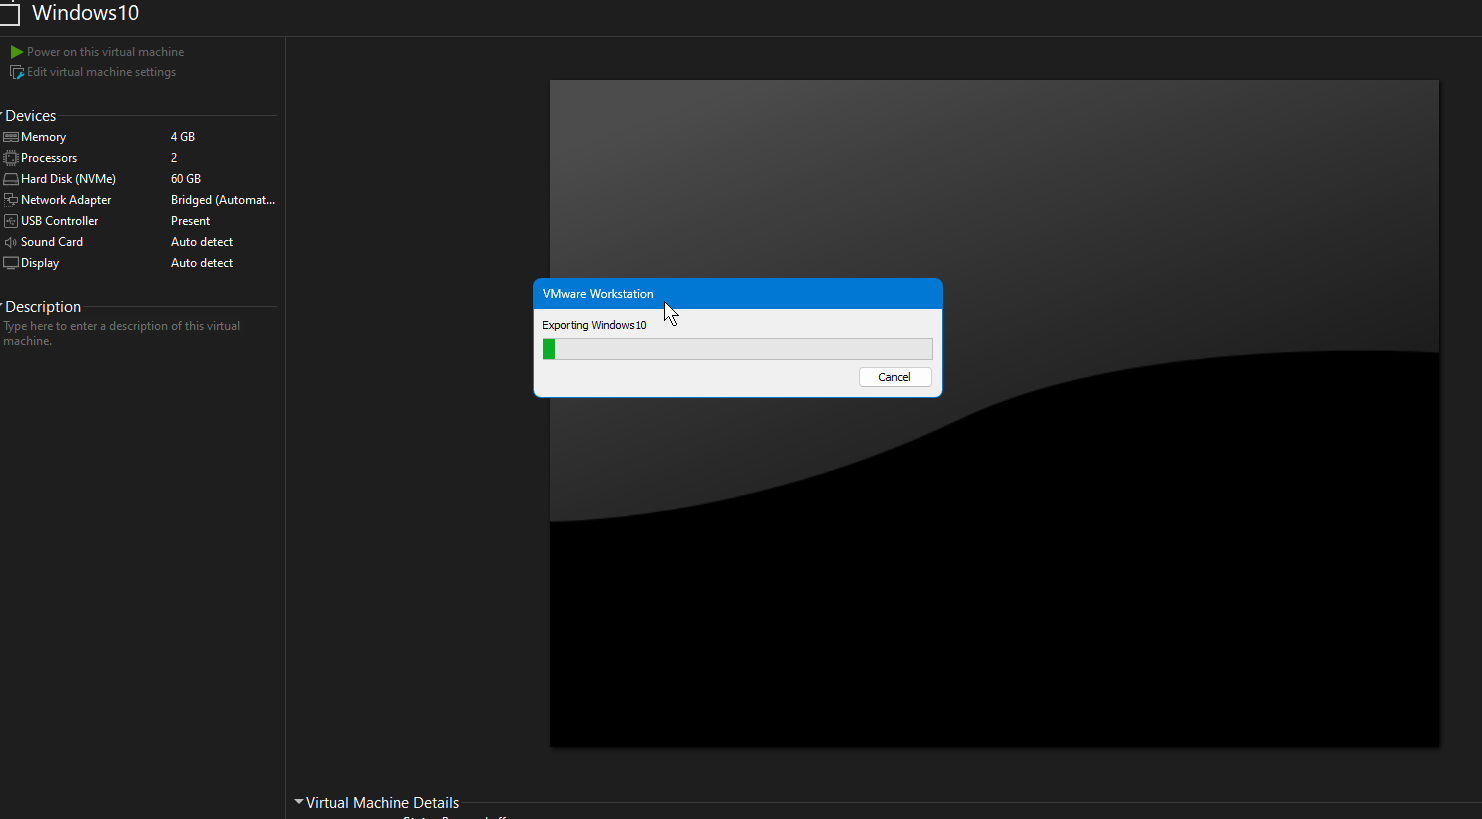
Waiting for export to directory
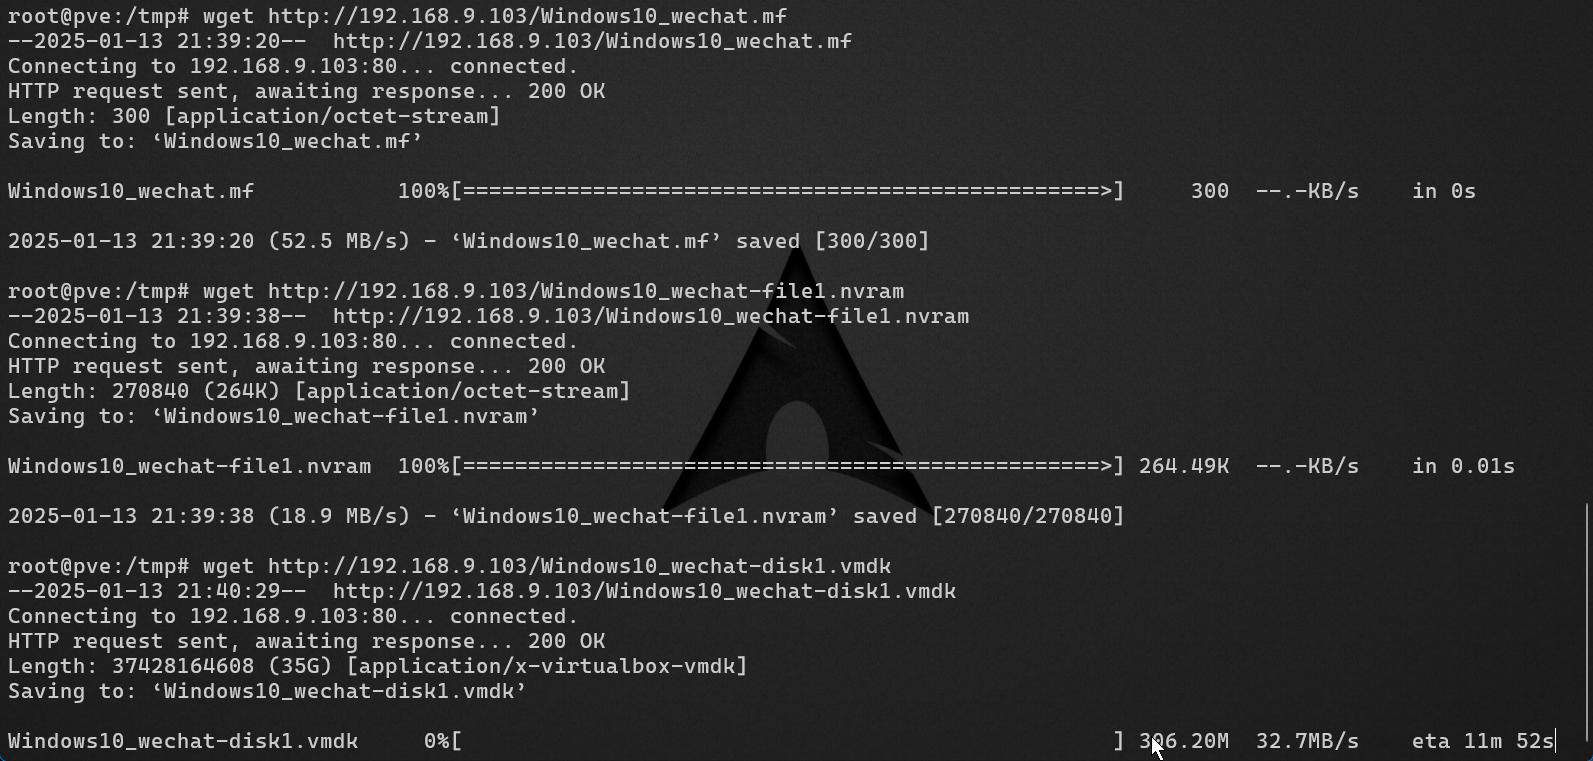
Download ovf and vmdk files mf through Shell
- Establish the HFS service in the host server and add the exported ovf file and vmdk file to the HFS service
- Download files in Proxmox server
wget http://10.253.253.100/Windwos10_wechat.ovf

#依次將其下載到proxmox服務器中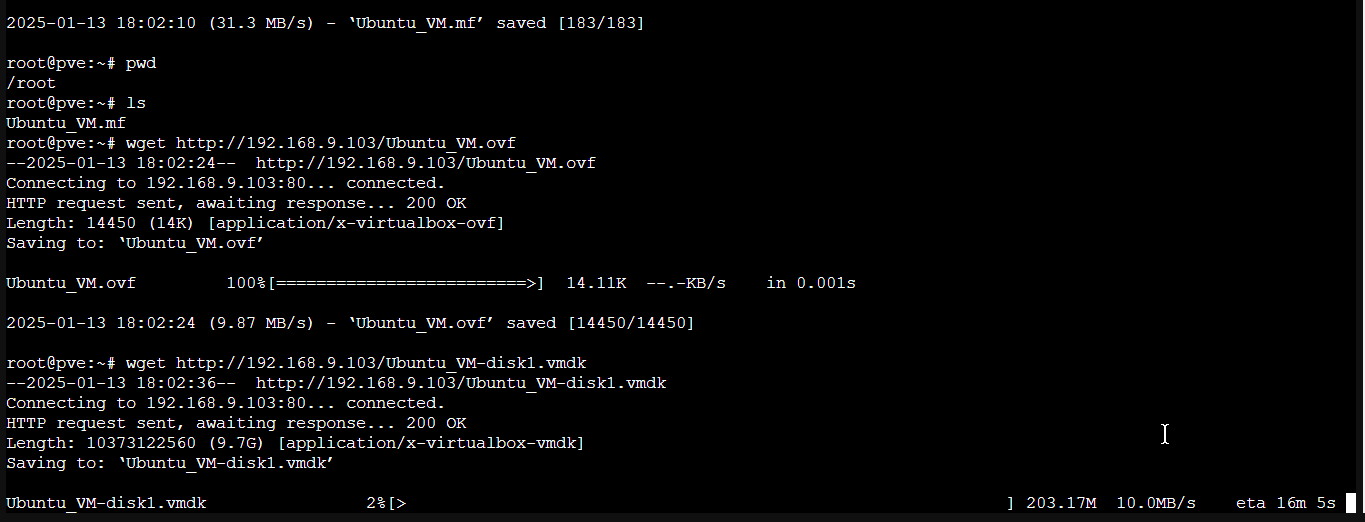
Ubuntu ID: 100
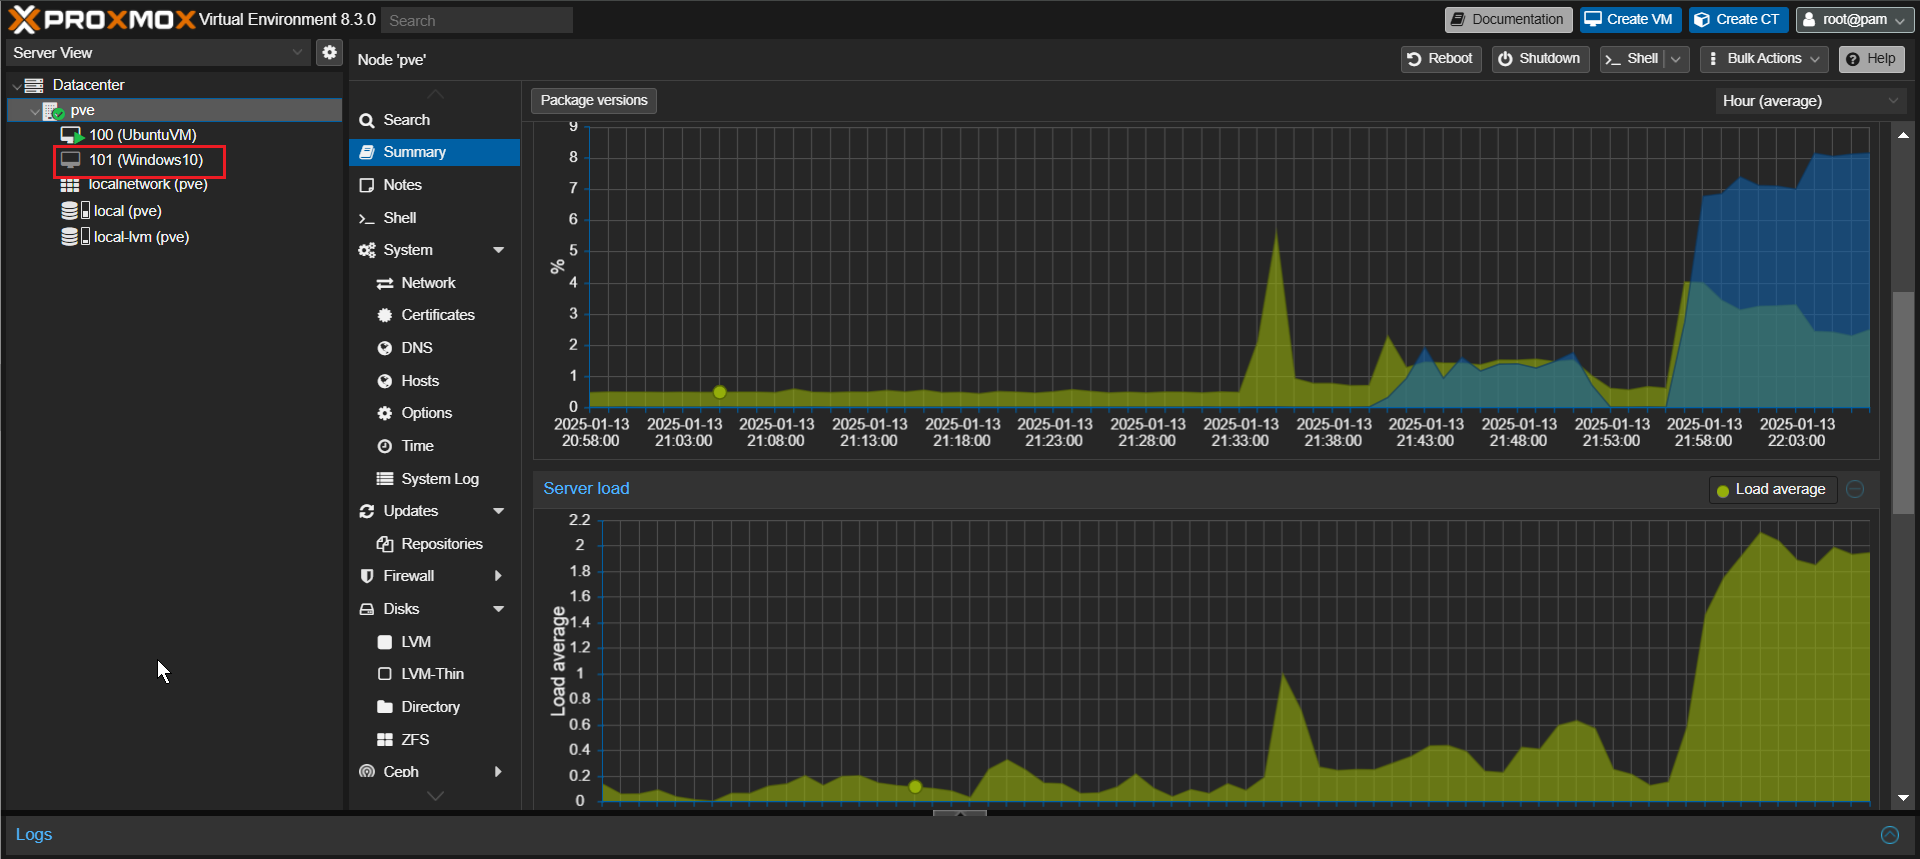
Windows 10
Import into Proxmox
   root@pve:qm importovf <vmid> <manifest> <storage> [OPTIONS]

   #Create a new VM using parameters read from an OVF manifest
   #https://pve.proxmox.com/pve-docs/qm.1.html
Parameter description:
- “vmid:” The ID of the virtual machine in PVE. The initial ID of the first VM in Proxmox is 100. This 100 is the VMID.
- “manifest:” ovf format file, virtual machine file exported from VMware Station
- “storage:” PVE storage pool, for example ’local-lvm’
- “[OPTOPNS]:” —format qcow2 | raw | vmdk Target format
For details, please refer to: https://pve.proxmox.com/pve-docs/qm.1.html
Example:
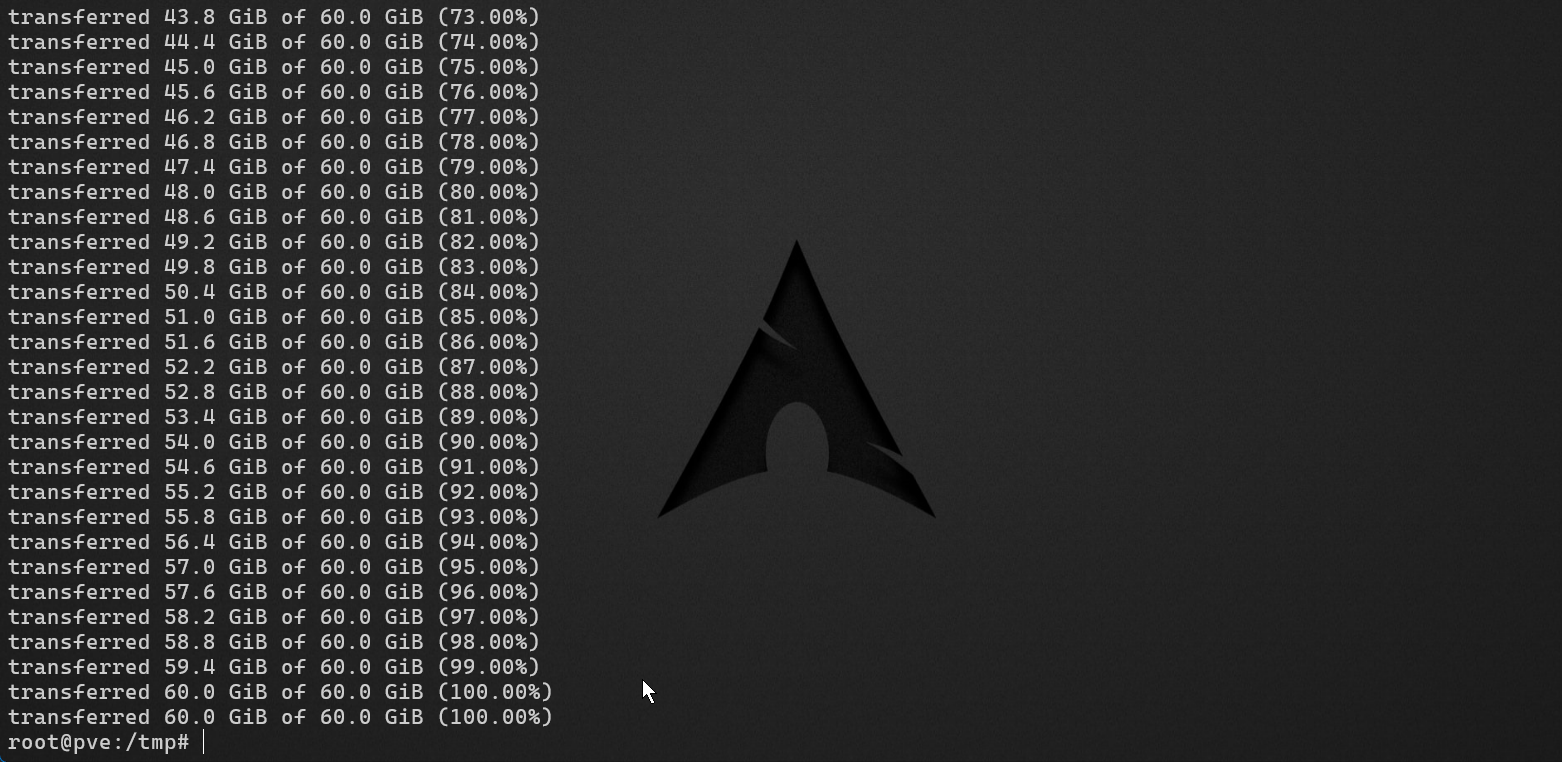
qm importovf 101 'Windows10_wechat.ovf' local-lvm --format vmdkAfter executing this command, wait for data transfer. After completion, you will automatically return to the command execution interface, as shown below
After the conversion is completed, you can see the VM in the Proxmox console
Add new network device
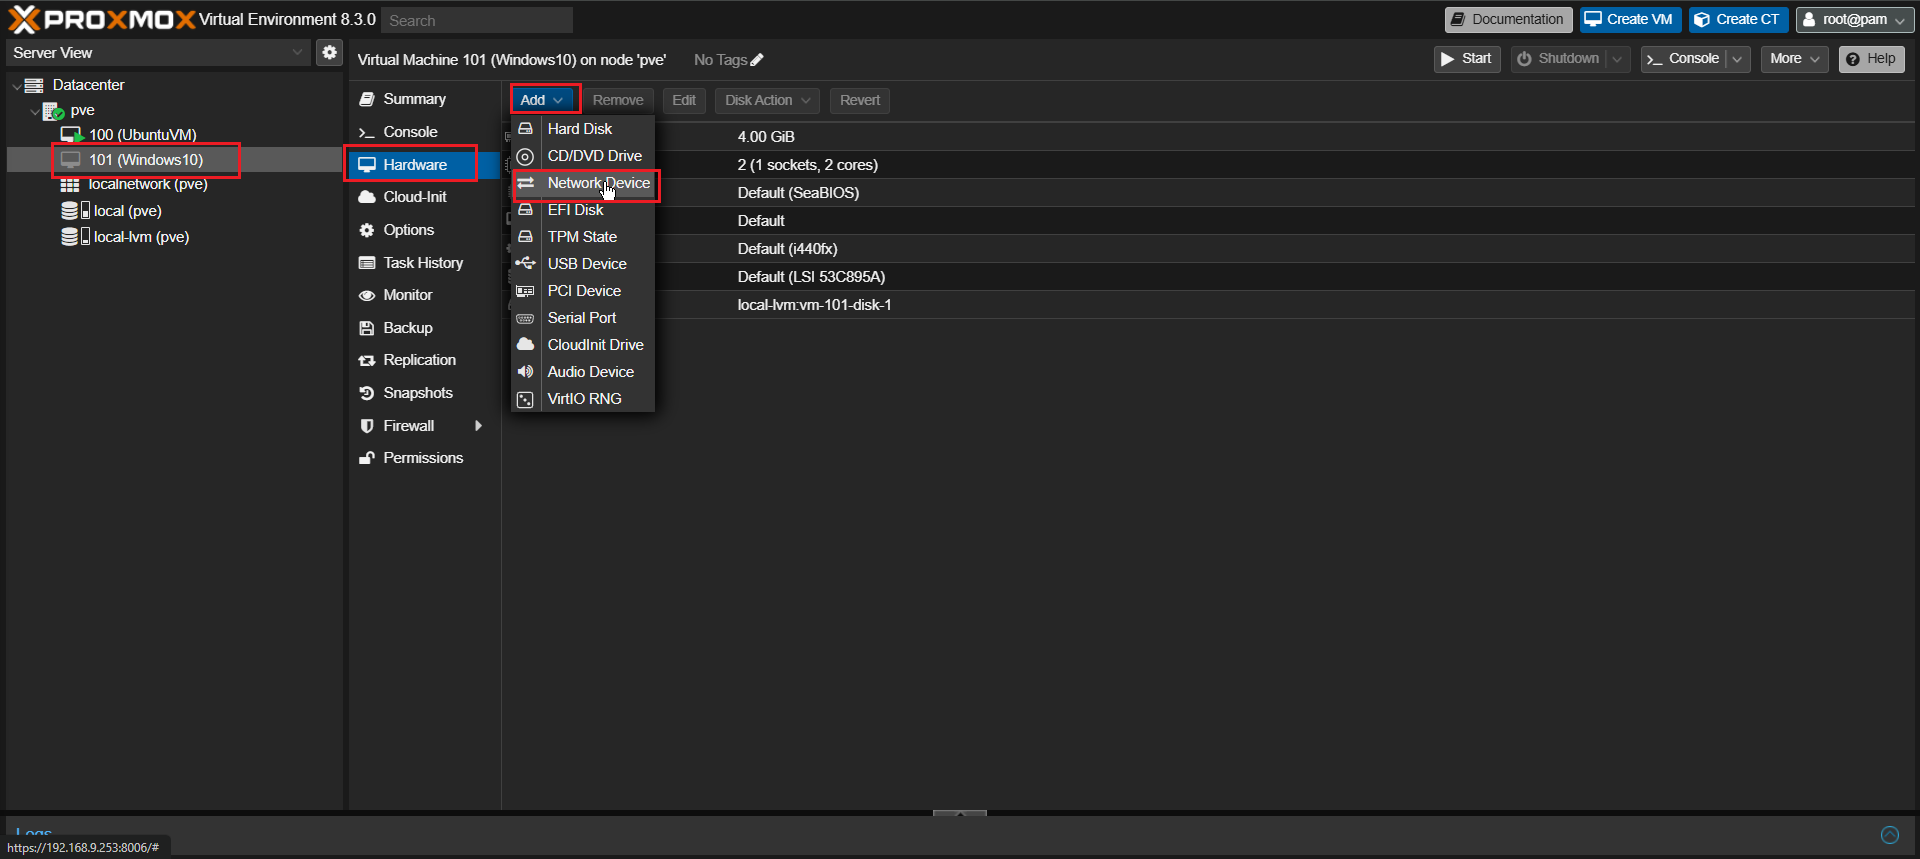
Note: Remember to copy the original MAC address to the new network device
Others
- If it is a Windows operating system and is stuck at “booting from Hard Disk” and cannot be started, please stop the VM first and then change the BIOS to “UEFI”.
- Check Proxmox’s time zone and time synchronization
- Basic security settings
Summary
I have been using VMWare Station and ESXi before, but I hesitated to switch to Lenovo Staiton S30 this time, so I started using Proxmox. When using VMWare Station on Windows and ESXi on a separate server, even with M2 and SSD, the efficiency and startup speed are not as good as Proxmox; The operation of remote virtual host (windows) is smoother than VMWare, and it can already meet the needs of daily office use. In terms of ease of use, ESXi and Sation are better than Proxmox (for people without Linux foundation);
Renfrence
Tutorial on migrating vmware-VM to Proxmox VE https://foxi.buduanwang.vip/virtualization/375.html/
pve document
https://pve.proxmox.com/pve-docs/qm.1.html